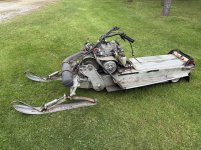
I would call that sled bare bones.
Indeed!
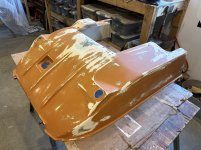
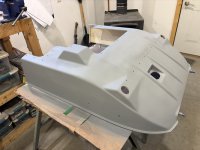
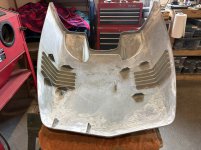
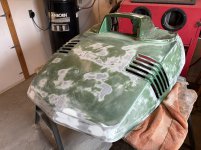
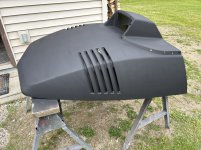
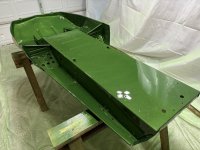
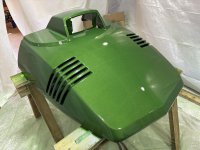
Kind of a long post here but I can’t remember ever walking through the fiberglass hood/pan crack repair process, so bear with me. There are variations for severe damage but neither sled this year required special treatment.
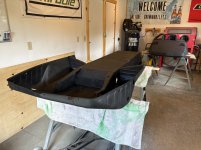
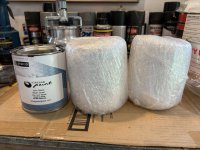
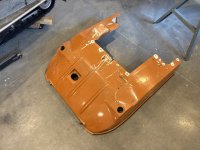
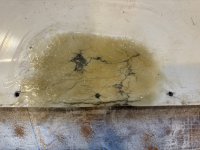
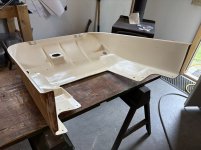
I don’t get too carried away on the inside, which is less visible and may even be covered by other sled parts. I clean the area well, sand it, and apply a layer of fiberglass mat, in this case to the pan.
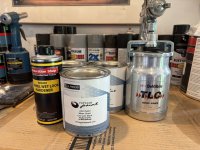
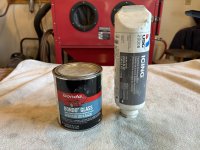
These are two products that I rely on heavily: fiberglass filler and a good glazing putty for the finish work. The fiberglass filler is harder and stronger than regular body filler and this brand of glazing putty is amazing stuff. You can sand it so thin you can almost see through it.
After the mat is cured and sanded, I apply the Bondo Glass to even out the surface and provide some feathering effect. This may take more than one pass.
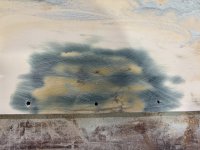
When I’m satisfied with the look of things I finish it off with the glazing putty and a finer sanding.
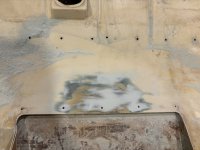
In this case, the inside of the pan is not painted the same color as the outside so I just sprayed on a color that I thought was close to the original with a rattle-can.
What is done on the outside surface depends on the type of cracking. If there are large cracks, I use a small sanding disc to cut a small “vee” along the crack. If there are a lot of small cracks in an area, I try to sand the surface down enough to create a depression so when the filled area is sanded down even with the surrounding surface, there will be more material on top of the cracks
The fiberglass mat adds thickness, which makes it hard to blend the repair so if I can avoid it, I don’t use it on the outside surface, just the fiberglass filler and glazing putty. Give the whole thing some fine sanding, prime it, and yahoo, it’s ready for paint.
