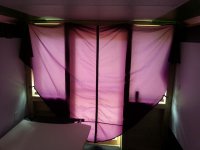
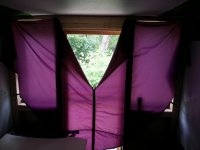
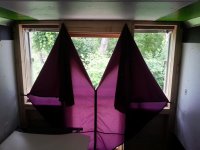
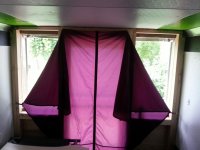
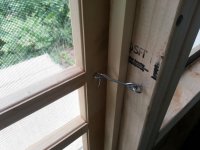
looks like a great time and btw love the summer rear door set up guess time to step up my game to keep up with the Larson's . u just more or less pressure fit it and foam tape the gaps? I assume it comes out ez
Comes out easy. 12 screws not counting the ones in the door hinges. Take the door off, then take out the header over the door, then 2 in the floor and 2 in the ceiling and one side panel comes, then repeat for the other panel. I built them snug, and after they are screwed in they don't move at all. Used some fiberglass insulation to fill the voids. I used 2 1/8"X2" pieces of aluminum stock screwed into the top of each panel to span back to the closest frame bow in the ceiling and put a self tapper into to hold it to the frame. When I take it out I'll replace that screw with a white one like the rest holding up the frp. For the door I bought a 30" one at Home Depot for $22 then cut it down to size. Much easier than building my own, and cheap enough to buy. Panels were typical 2X4 framing, knotty pine t&g on bottom, screen stapled over window opening, then covered with #2 1X3 pine for casing.
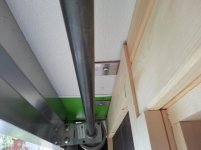
Aluminum bridging back to ceiling bow. 1 screw in each. Didn't put in a photo, but the base plate is just screwed to the floor with 2 screws also. Tricky part was plumbing everything since the trailer wasn't sitting level. Ended up using a drywall T-square to square it up off the floor and it worked pretty good.
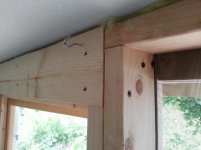
Typical header with cripple, 2 screws through king stud to header
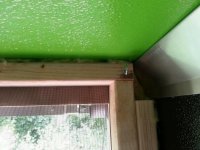
Double stud along wall, outer stopped short of crown, fiberglass insulation filling void. Also filled all the way around along walls and ceiling to everything tight.
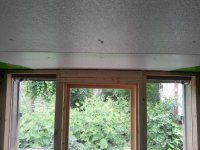
Wall built snug to ceiling, notice it has slight bow to match
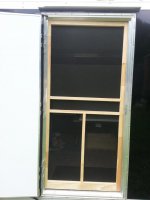
Door cut down to correct height. Just knocked apart and shorted sides, re-installed top rail and screen. This is actually a photo of the side door. We ended up using this one almost all the time. Not sure I'd even put on in the back if I did it again.


