Chaparral vs John Deere: A Build-Off Challenge

skiroule

Well-known member
For some time, I’ve been thinking that the shop is missing something. I’m a bit of a slow learner so it took awhile but Gary’s post finally lit the lamp. It needs a Hamm’s banner. I’ll be working on it.

I was going to write something smarta$$ like your an “influencer” and we are your “followers”, but, I prefer guys enjoying shop talk and watching a skilled craftsman at work.
I agree with your preference. I can’t even be an influencer at home, much less out in the online forum world.

Well, your not wasting any time. Quoting a military phrase, "As you were".
The truth be told, I had a slight head start on the Cyclone earlier this summer. At the Boondock Inn vintage event last year, I promised some of my John Deere enthusiast friends that I would have a re-done Cyclone 440 at the event next year so I’ve been nibbling at it when time permits. Otherwise, I knew I could never fulfil that promise. Of course, adding the Chaparral to the mix really spiced things up, which is why I decided to document the progress here.

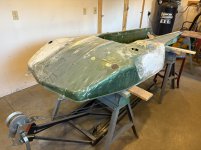
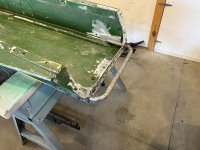
Whenever I look at the beatings these chassis took, I can’t help but think about the stories that some of these dents and hack repair jobs could tell.
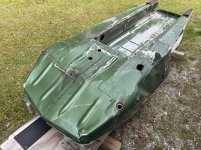
IMG_3977_1.jpg
 
Last edited:

skiroule

Well-known member
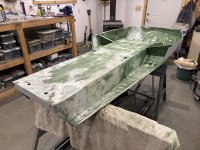
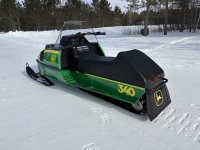
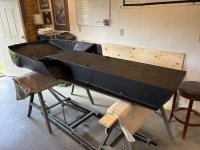
I decided to switch horses (sort of) on the John Deere. The 440 chassis was rough but had I no other options I would have tried to work with it. As luck would have it, I had a decent 76 340 chassis off the parts sled that I bought last year that had much less damage.

While the damage on the 76 chassis was light, the pan must have been a Monday stamping. This thing has more waves than a parade queen. There’s no point in trying to correct these, it’s just a part of the sled’s character.

So, by virtue of a chassis change, the 77 440 Cyclone will be a 76 440 Cyclone.
IMG_3799_1.jpg
 

skiroule

Well-known member
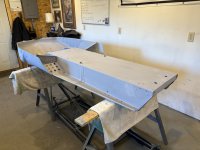
While the 76 chassis was decent, it still required some hammering/filling. I also filled in the passenger grab handle holes in the tunnel. Somehow the handles just don’t seem to look right on this sled.

IMG_3811_1.jpg

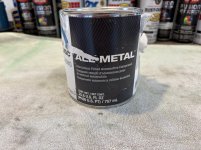
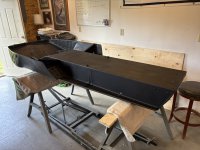
Some guys can hammer sheet metal to near-perfection. I’m not one of them. This is where the cheaters (fillers) come in. When doing the initial filling on bare aluminum I’ve had good luck with this product – USC All Metal. I’ve never bothered to look at the chemical makeup but it behaves like it’s basically aluminum powder mixed with fiberglass resin. It’s workable and very strong. The claim is made that it can be drilled/tapped but I’ve never put it to the test.

IMG_3999_1.jpg

I’ve never had an issue with holes filled with this stuff. I usually just hammer a small depression around the hole to give the filler a more feathered bonding area. Sometimes I will back the hole with fiberglass mat first to contain the filler on the backside. I’m sure it’s not as good as welding but it’s something I can do in my shop.

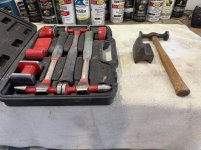
Speaking of hammering, a couple of years ago I treated myself to a fancy (to me anyway) hammer and dolly set to supplement the single hammer and dolly I’ve gotten by with for over 50 years. The new set does make some things easier but guess which set I pull out most often.

IMG_4001_1.jpg
 
Top