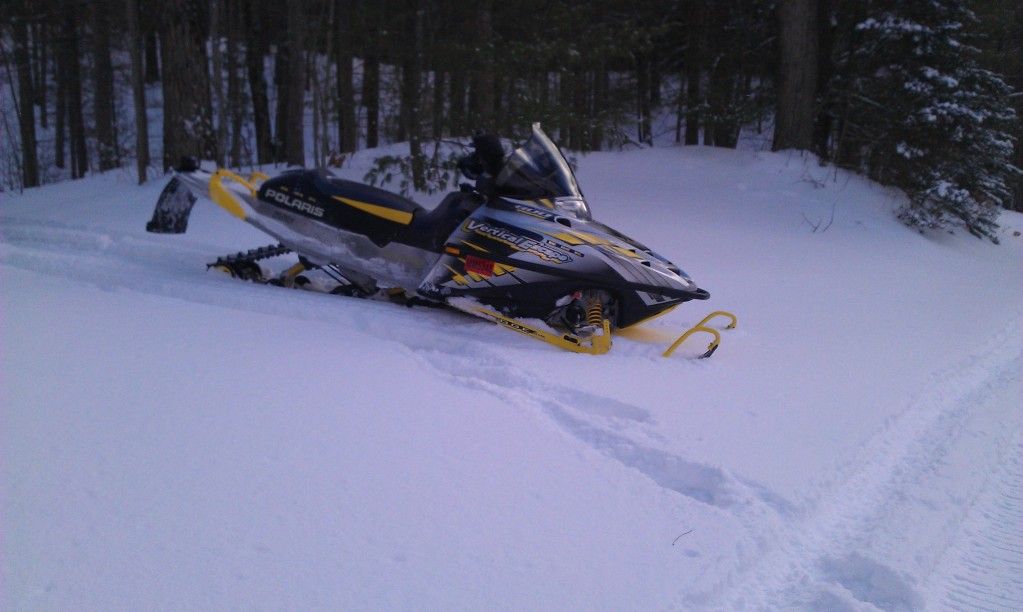
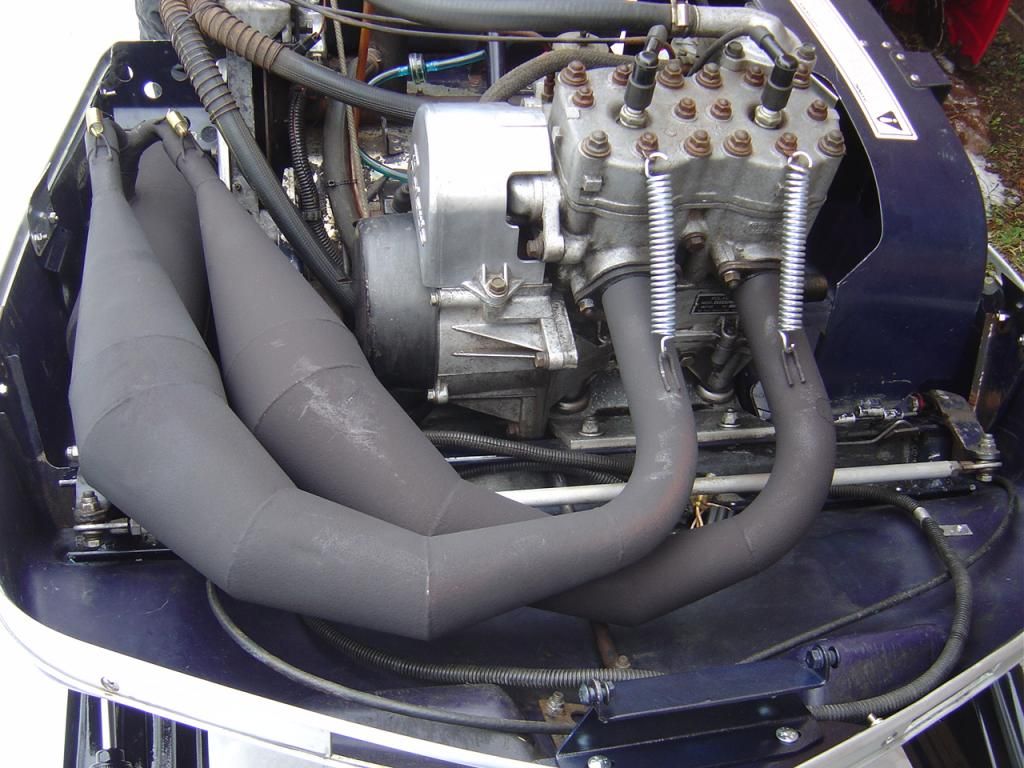
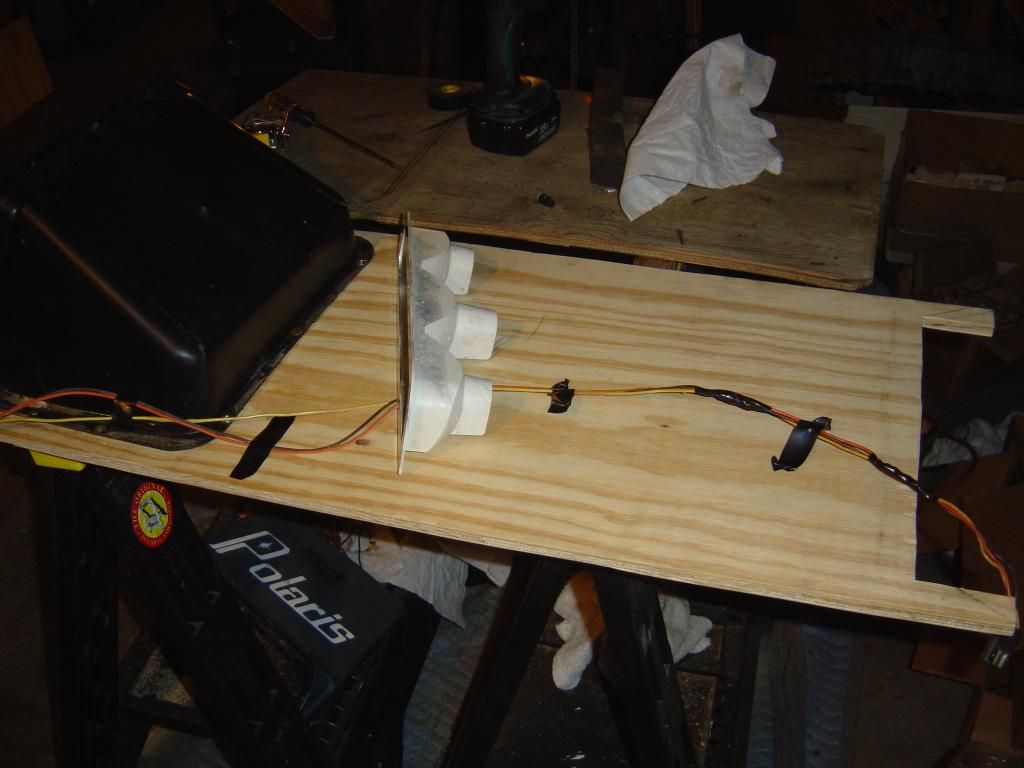
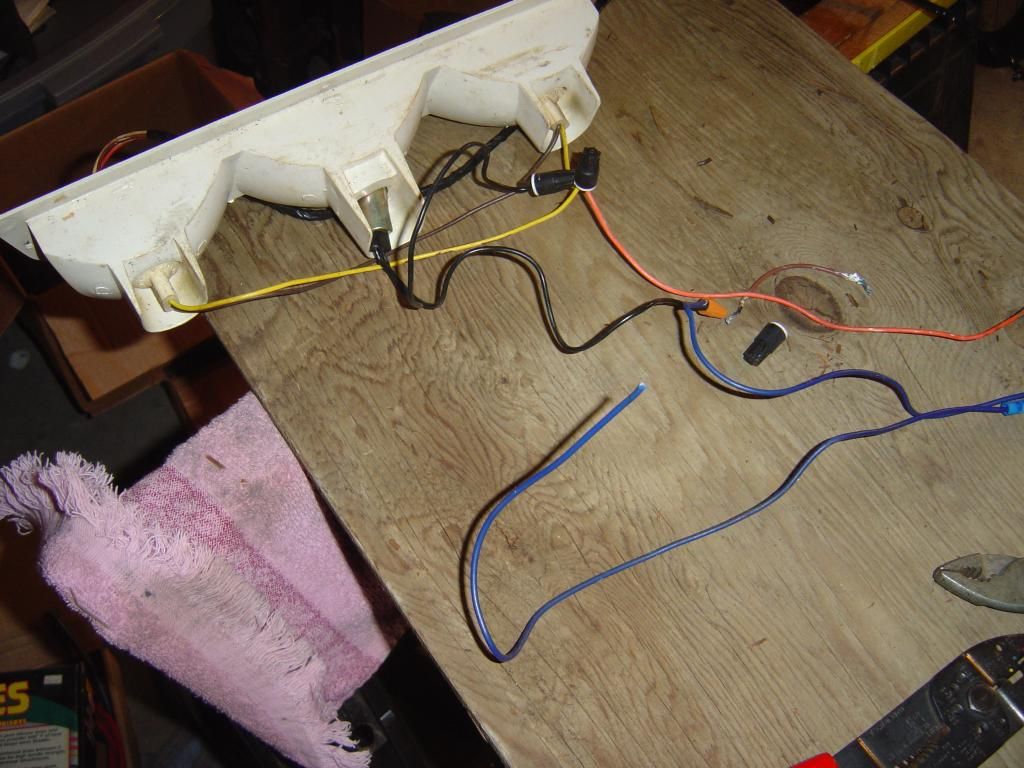
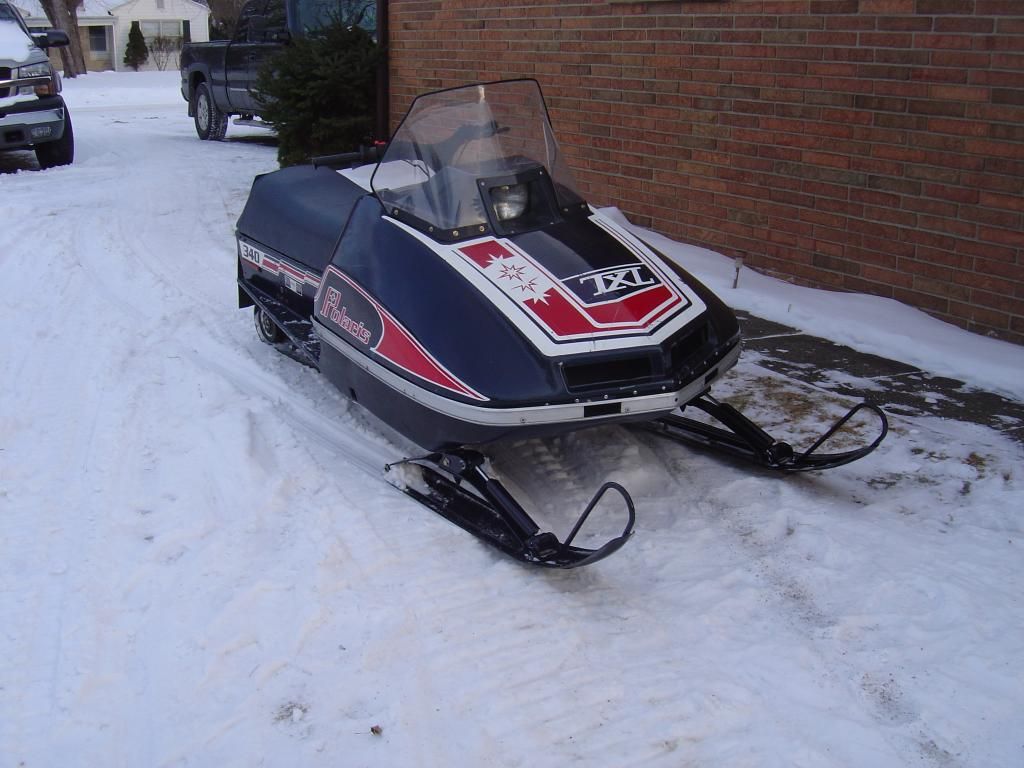
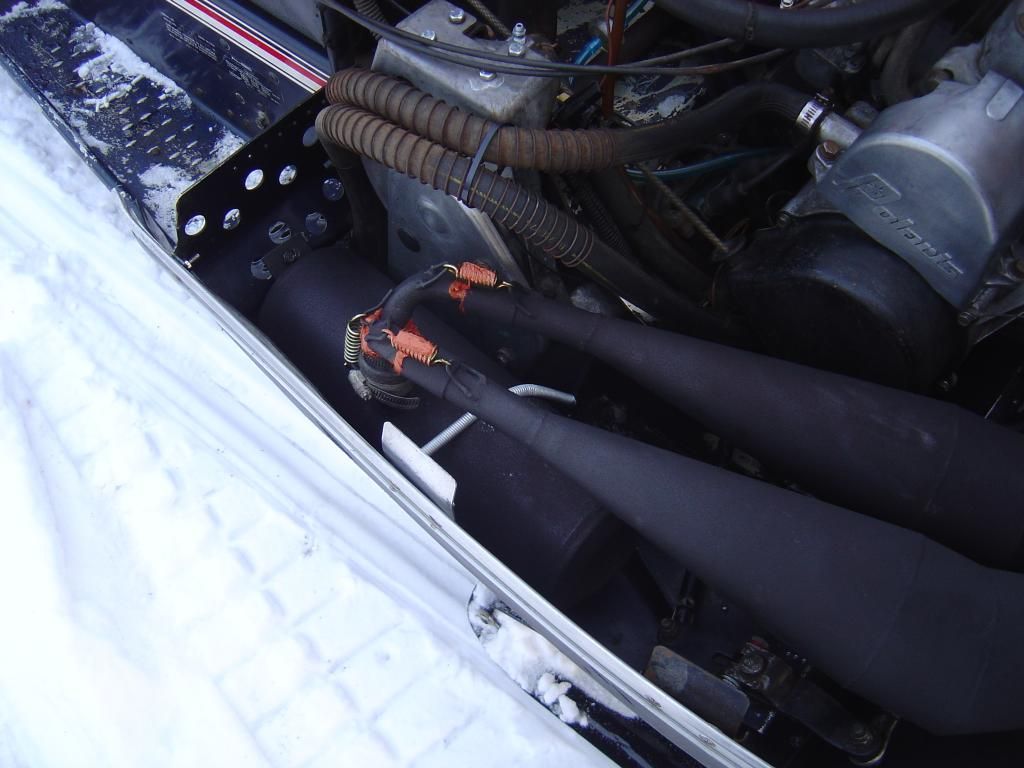
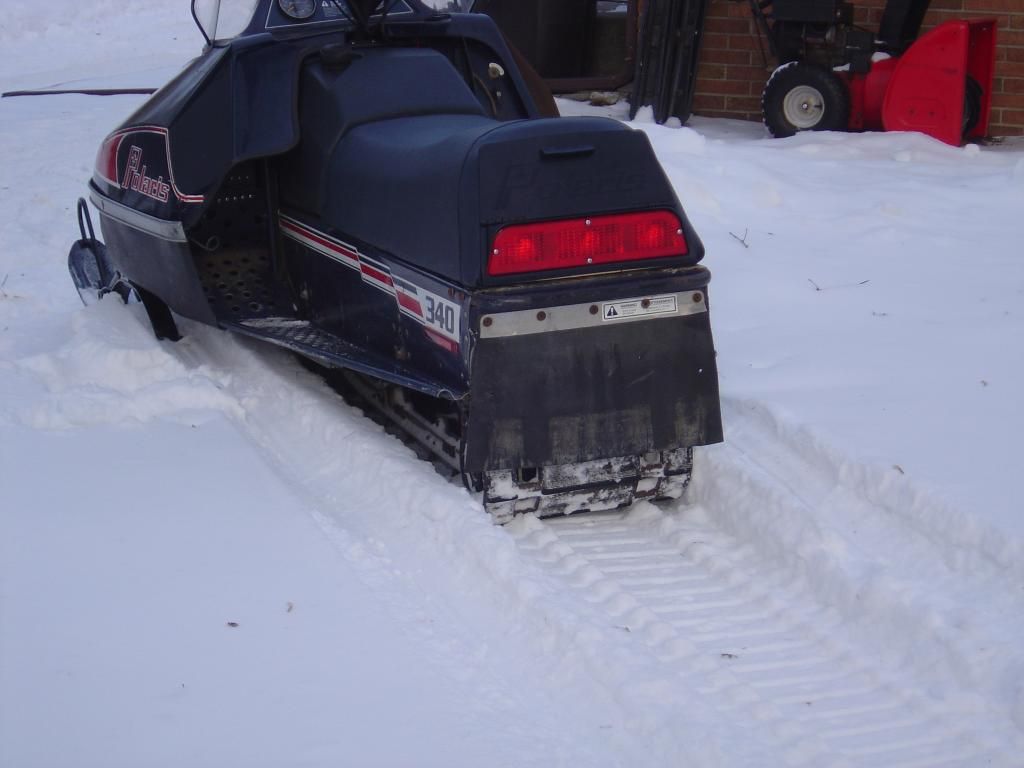
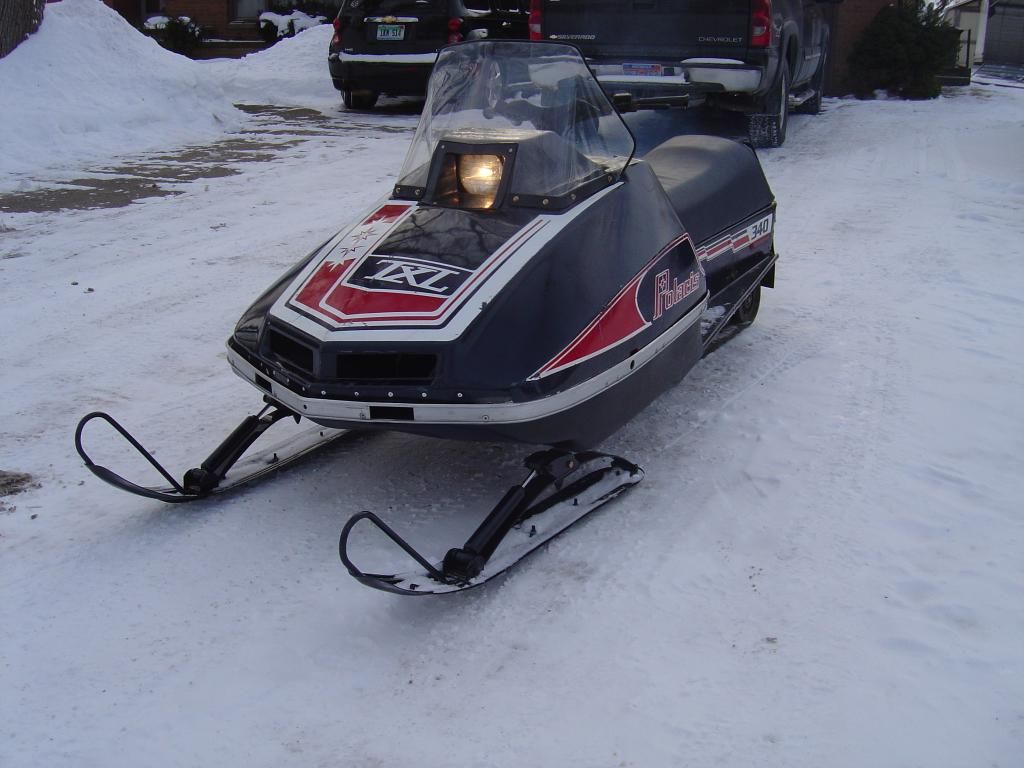
Heres my first Vintage Project........TXL 340

skiroule

Well-known member
Kirk, thanks for the photos and the part number. I'm impressed that a Polaris dealer still had those bushings. There are a couple of guys out there making reproductions but I didn't know you could still get them from Polaris. They are the same as the TX bushings.

Finished prep on a 72 John Deere 300 hood tonight that I hope to paint for my brother tomorrow night. Finished the cowling last week - looks pretty good. A little diversion from my other stuff but wanted to help him out a little with his project.

By the way, since you're a car guy too, if you ever decide you need a 35 Ford 2 Dr Flatback sedan body & frame as a project, I have one. Was going to make a street rod out of it many years ago but just never got around to it and doubt if I ever will. Vintage sleds are a much more manageable size.

Brad, glad you're getting the sled fixed. Maybe be out on that fresh snow tomorrow.
 

kirk600

Active member
Kelly, No problem on the pictures. I have been pleasantly surprised at what the few dealers around here have actually had for the old sleds. The bushings and the old clutch parts were all in stock, I just had to go to two different dealers. Of course, I cleaned them out on the clutch parts but it should last a long time. I bought an extra set of pins and buttons for the spider as next time I need them might be years down the road......
Those old fords make cool street rods, unfortunately i dont have any room for another project. I am working on a 1978 Chevrolet stepside with my nephew and after it is done i am going to slow down and do little projects, like this txl and maybe an old can-am motorcycle.

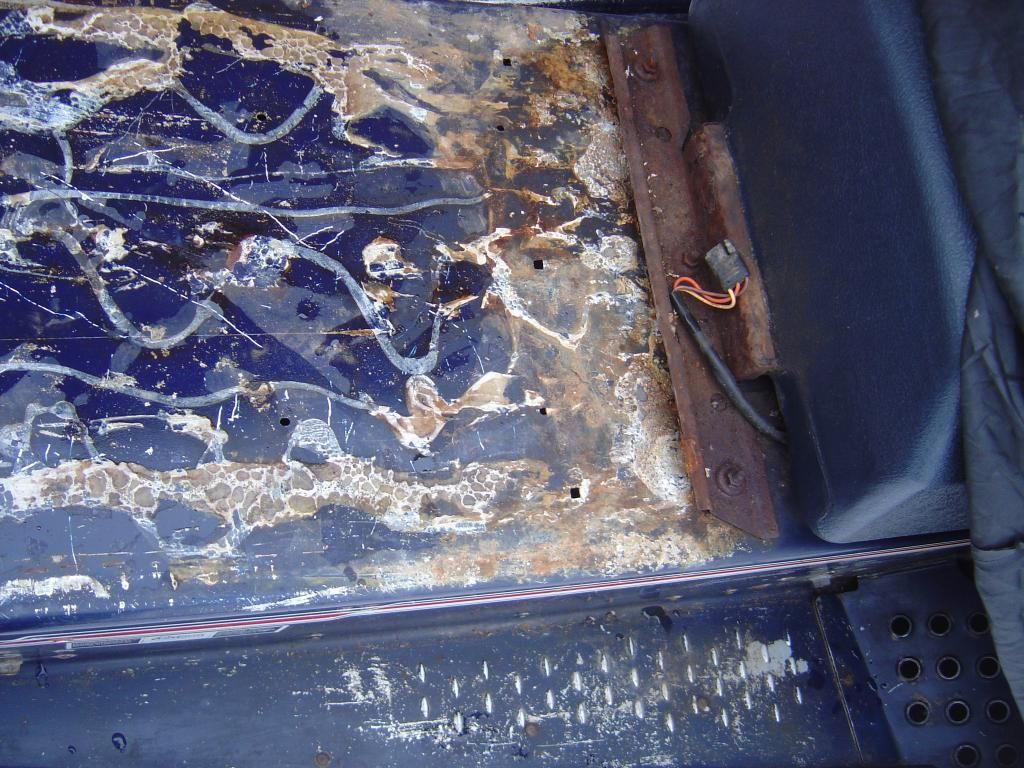
Brad, I got the seat cover yesterday and it looks like it will work well. Can somebody walk me thru installing it please? I took the old seat apart and it is in pretty rough shape as it has had some quick fix repairs in the past. I dont know if I mentioned it earlier, but the board was only glued onto the tunnel and the foam was glued to the board. What kind of damage is ok with the foam? I need to replace the board at a minimum, and maybe the foam as well.
 
Last edited:

Bradzoo

Active member
Try to save the foam if possible, try to find some place close that does automotive upholstery if you need to replace portions of the foam. As far as the plywood goes find some the same thickness and use the old plywood as a template, are you sure the board was glued to the tunnel the front should slide under the back of the gas tank clamp and the back should have 2 bolts 1 on each side of the trunk, holding it down in the back, unless someone has modified it. If your board is to bad to use for a template you might sweet talk Kelly to see if he has the one for the make a wish sled, maybe he could make a cardboard template for you. Glad the cover looks like it will work!

Bradzoo
 

kirk600

Active member
Brad,
Thanks for the tips on the foam. I guess the previous owner was just trying to keep the seat in place, because he used gorilla glue to fasten the seat to the tunnel. And some kind of glue held the foam to the board.As you can imagine, the board has significant water damage and it is delaminating. I am going to replace it with 1/2" plywood, should i use wolmanized? As everything was falling apart, does the trunk fasten to the foam, Or does the seat cover hold it all together? i cant post pics for a few days, as im up in Cadillac until Saturday to get some riding in.
 

kirk600

Active member
Well its not quite rideable, as the clutches need to be installed, as does the windshield and hood latches on the belly pan. And as Kelly said, hood alignment is a real test of willpower....... but here are a few pics I took today to get a little motivation. I hope you all like them.


- - - Updated - - -

never mind that first pic.......that was last winters project. 2004 800RMK The familiar busted crank but its all good now, I rode it a few times this week and it runs real good.

- - - Updated - - -

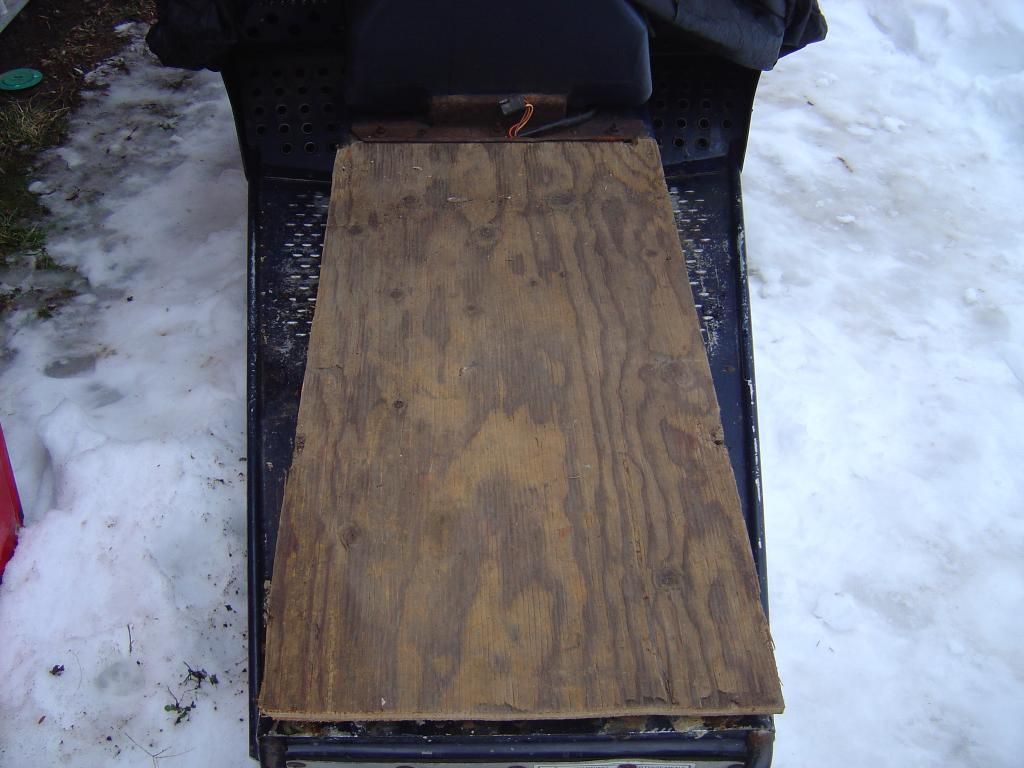
And here is my board cut for the seat, hope to tackle that part in the next week. The seat on the sled is a loaner from a good friend until I get mine together.
 

skiroule

Well-known member
Hey Kirk, the sled is looking sharp! Think you'll like the power that liquid 340 puts out. A friend of mine just got his running and he says it winds up to 9000 nicely, even without pipes.

As far as the seat, I can tell you that any obvious flaws in the foam will show through the cover - cuts, missing chunks, ridges, etc. The seat covers seem fairly easy to put on and remove so if push comes to shove, you can always refine it over next summer.

My experience with the boards is that they seem to work better if they are cut slightly more narrow and shorter than the tunnel. I also round the edges and the corners to avoid stressing the cover fabric too much. By the way, I had to look up "wolmanizing". I was familiar with "womanizing" but that seemed like another subject.

Gotta love the Vertical Edge. When they came out, I thought they were the coolest of the new sleds.

Here's a shot of the board I used on my 79. Notice that there is a small cutout for the wiring in the front - seems to help avoid pinching the wiring on the bracket. And yes, the trunk is screwed to the board.

DSC_0298_zpsjicccdd7.jpg
 

kirk600

Active member
Hey Kelly,
Thanks for that picture and tips for the seat. They are a big help already.

My trunk was glued to the foam, not fastened to the board like it is supposed to be. And being this is my first vintage sled project, i wasn't sure if what i had was right or not. And the foam was glued to the board, which was then glued..........i swear the previous owners must have loved the smell of glue!
It has taken me a little longer to get this old 340 on the snow, but with all the help you folks have offered, its getting closer every day. And when i do hit the trails it will be done right.

Kelly, is that where these 340's spin up to? 9000rpm's? I have not done any research on motor specs or target rpm, but i can tell you it has a red spring in the primary and 37.5g weights and a 34 helix.
Maybe the twin pipes will operate close to your buddies as far as rpms, if its too high i have some 43g i can grind down.
 

skiroule

Well-known member
I was actually kind of surprised that his was running that high as my free airs are happy at just over 8000 but I can't say that I've seen any target specs either.

The clutch situation is interesting. My clutch service manual (that I got from Brad) shows the following for a 79 340 TXL

Clutch Weight - 43g (B) Clutch Spring - Silver

High Altitude:
Clutch Weight - 37.5g (W) Clutch Spring - Red

Maybe the previous owner was doing a little mountain riding???

More than likely looking for a few more engagement rpms.

Forgot to add that my friend is running 38mm carbs on his TXL. Probably good for a few more RPMS.
 
Last edited:

kirk600

Active member
Hey Kelly,
I read that the txl came with 38mm carbs on them. And I did read over on VS that guys were indeed spinning these up around 9000 rpms! So that should sound pretty good.

As far as the seat goes, i studied your pictures, made a few modifications to my board, screwed down the trunk and made my first attempt at upholstery repairs.
I will post a picture tomorrow, but it seems i might have been a little too anxious. My lights dont work, and i probably should have checked the wiring out better before i stapled the new cover down.
No worries though, i was told by a few co-workers i should have used stainless steel staples so i want to replace those also. And i will probably do something with the trunk door as well.
 
Last edited:

Bradzoo

Active member
Cover looks like it fits pretty good!

Try the heat gun method on the door it works good just go slow and use caution not to get it to hot, once you get it flowing its just like painting

Bradzoo
 

kirk600

Active member
Well everyone, I worked all day rebuilding my seat. I made a new board, followed Kelly's template with the "horns" up near the gas tank. I also replaced the wiring harness in the seat with one from the short seat I had bought last month. The wiring was just too far gone, it also had the wrong socket for the brake light(one for a dual element bulb was spliced in there). It looks pretty good,but I didn't have access to a heat gun as Brad recommended, so I painted the trunk door. Hopefully this next week I will actually get it moving under its own power. Here are a few pictures for you to enjoy........


skiroule

Well-known member
Heck Yeah! The seat looks excellent.

I've had mixed results with masking/painting the letters. The biggest problem I've had is getting the masking tape off without pulling some of the lettering off. On the Make-A-Wish sled I used something called a "paint pen" and it worked really well but the lettering was much smaller. Don't know if you could get one big enough to handle the bigger lettering. I got mine at Michael's. Guess you could always try free-handing it with a brush. Good Luck!

I think the free airs came with smaller carbs (at least my 340's were all running 30mm's). A mechanic friend of mine told me that his Starfire 250 had 36's and would wind up over 10K. I put 38's on my 440 and it definitely has some snap.
 

kirk600

Active member
Thanks Kelly, you gave me a bunch of help without even being here! Unfortunately, the foam i used is in pretty bad shape so it has a few bumps under the material but it is way better than what was on it. And i tested the lights this afternoon and everything works too. I will say it turned out way better than I expected it too. Thanks to Brad also for the advice and the seat cover.

Now I have to install the windshield, and the latches for the hood......the ones down in the footwells.

To be honest, i have used the paint pens, and I think the area is going to be too large to get even coverage. Free hand may be my best bet, but heck if i screw it up, I can just start over. Maybe i will practice on my "spare" trunk door
 

kirk600

Active member
Hey Catshed, I did give that some thought. I tried to freehand the extra trunk door last night......just the letter "P" though. It looks ok from a distance but I need to get more uniform coverage......maybe a wider brush will do the trick.

Thanks Brad, It does seem to match pretty good. As you guys have said in other threads, getting the flash right is a real work of art or it looks too dark or too light.

Well this afternoon, I got everything put back on that was necessary, so I figured "lets take it for a spin". Well thats almost exactly what happened on my icy road! I need to make some clutching adjustments as it really comes on hard when you hit about 6000 rpms. I ran it up and down the street about 4 times, each time gave it a few more feet to stretch its legs and she pulls all the way to 88-8900 rpms. Hopefully tomorrow the hood latches will get installed, and I can hook up the speedo. Here's a few pictures for you all to enjoy.


- - - Updated - - -

And here are a few more


skiroule

Well-known member
Nice! I can't believe that it is the same sled. How does she sound?

Also, way to make the rest of us look bad. According to the original post, this took you about 6 weeks. I might have gotten about 1/4 of the stuff done.

With the clutch setup you have, I'm not surprised that it comes out of the hole pretty hot. You have to admit, these things make a surprising amount of power.

Congratulations!!!
 
Top