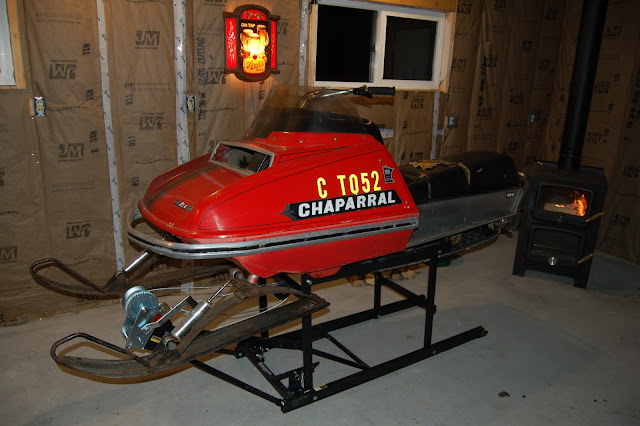
That banner would have looked awesome in the "Skiroule Cave" but yes, it is the thought that counts.....
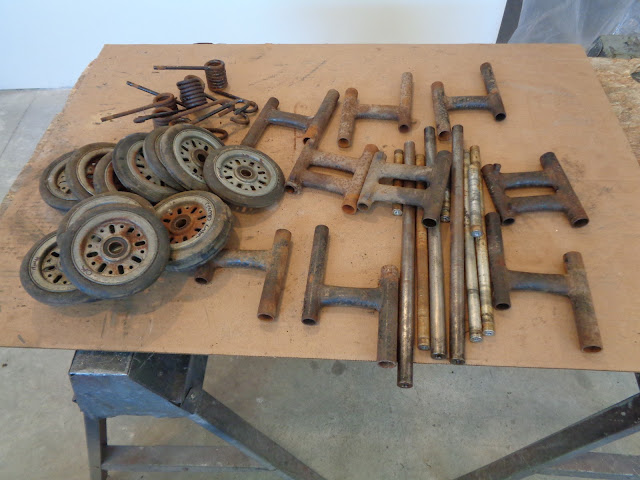
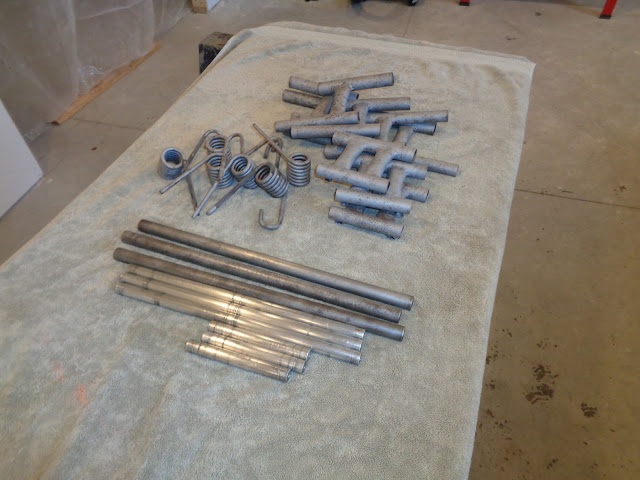
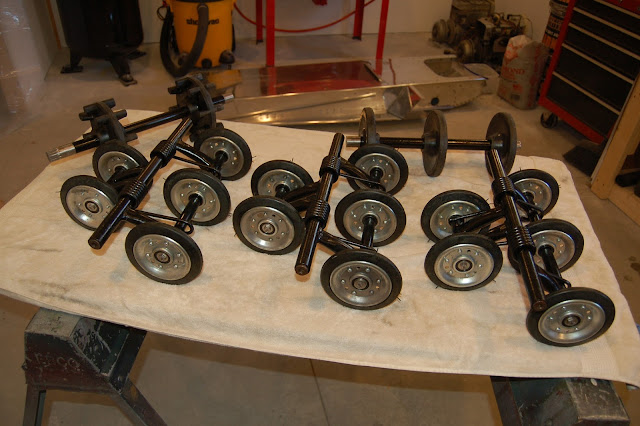
Those bogie wheel suspensions sure didn't lack for moving parts and at the time it seemed like every company had a different version of the same basic concept. Funny thing is, the bogie wheel setups didn't really require a lot of maintenance. The Chaparral bogie wheel sets only required greasing of the three main shafts every year or two. You wouldn't even have to drop the track (or loosen it for that matter) to remove the assemblies.
Unfortunately, few, if any, owners bothered with much suspension maintenance because the manufacturers seemed to downplay any need for it. Many years ago I read an article stating that the manufacturers of the day thought the life expectancy of a sled would be about 3 years. This might explain why many of the moving suspension parts were not even greased from the factory.
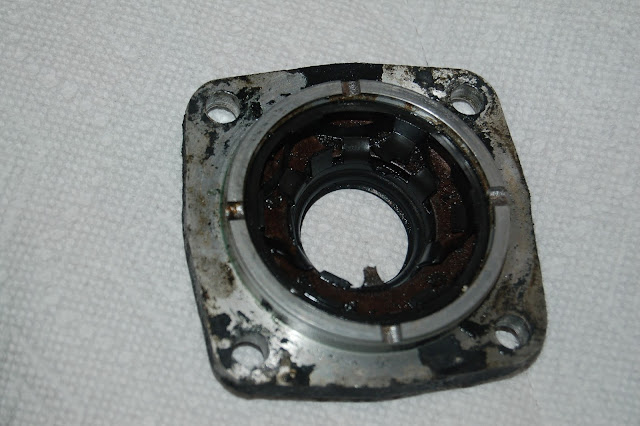
Without periodic greasing, the rotating shafts tended to seize and this is the result: Locked-up suspension and constant pounding on the hangers and egged-out mounting holes. Not surprisingly, the ride wasn't much different even after you lost that 2 - 3" of travel

.
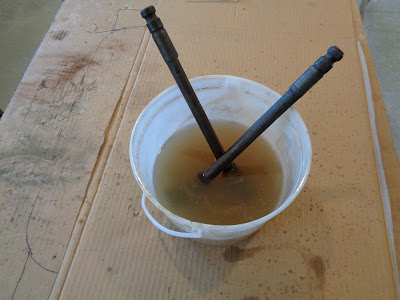
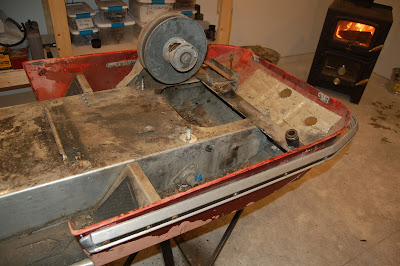
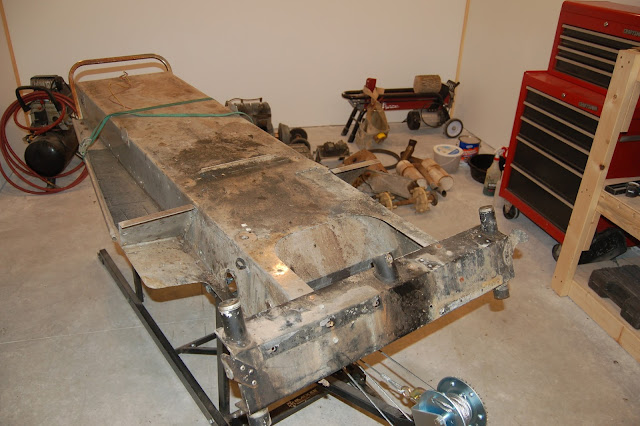
Started tearing down the ski/spindle stuff and managed to break the spindle bolts loose (this is a bigger deal than it sounds) but the lower spindle bushings are still frozen on the shafts so they are getting marinated in a bath of WD-40. I don't really need the bushings but I'd prefer to not have to cut them off. Hopefully the marinade will pay off.

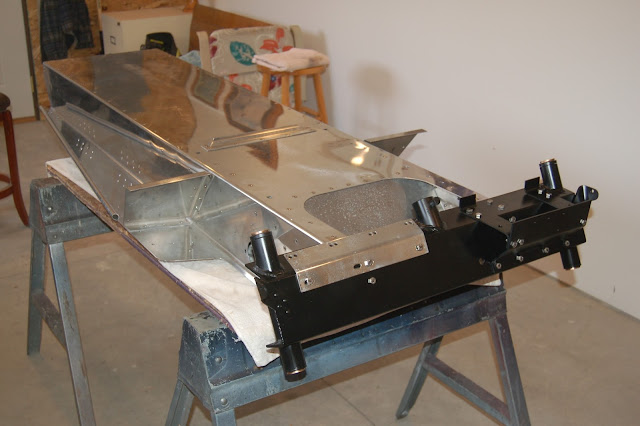
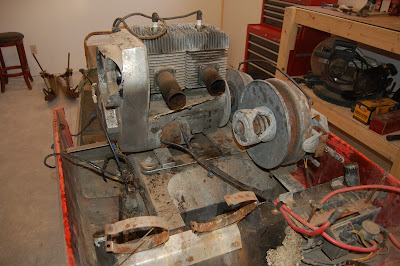
 Looks like a slick set up!!!
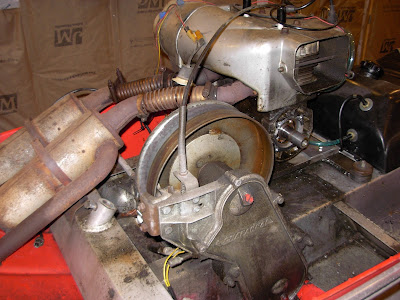
")