D
Deleted member 10829
Guest
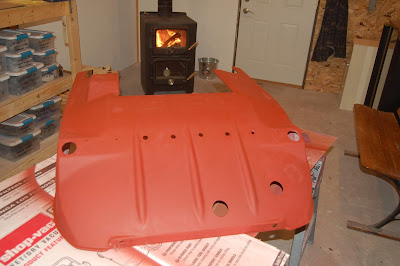
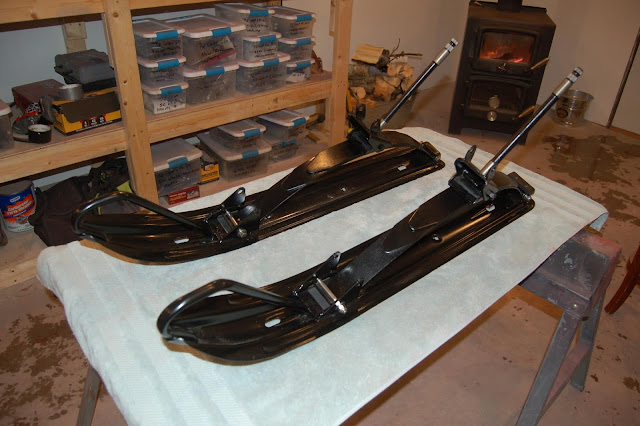
Looks like progress to me! The exhaust should look good with the red.
Looks like progress to me! The exhaust should look good with the red.
")
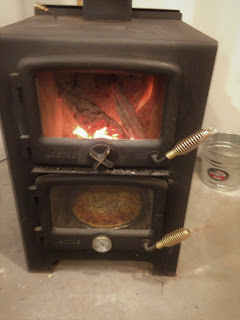
Lookin good!


Now if that stove could keep some beers cold, you are set!
you do realize that there is NANO SPRAY CHROME nowadays....even in a can peruse youtube for other films but heres one
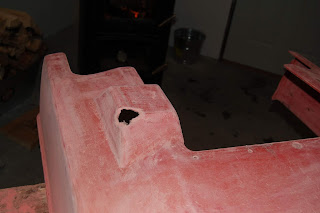
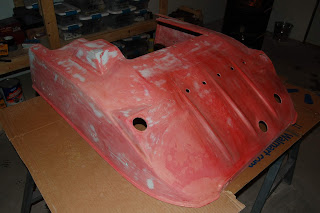
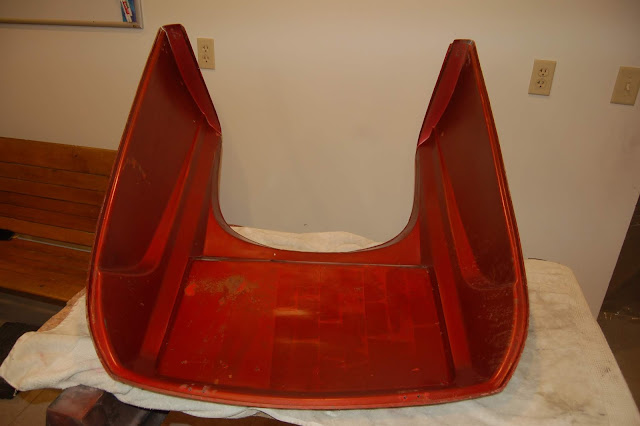
Thanks Big Z. Progress pace is slower than I'd like but I guess a person does what they can. Anyway, on to the hood work. Love the fact that the factory put a Thunderbird hood on this sled - very cool. The weathered exterior doesn't really give a very good representation of the original. The inside shows a better example. The color reminds me of the old Cadillac Firemist color - hoping I can come pretty close to duplicating it.
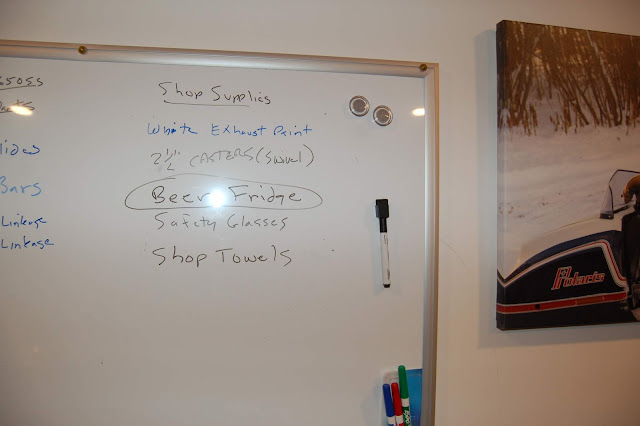
Now that would be something. Beer fridge is on the shop white board though.
The list of things I don't realize is pretty extensive so it's not surprising that the Nano Spray Chrome system is on it. A spray can version would be the only practical approach. A full-on system spray is way too expensive and couldn't be justified for my little projects. There may be vendors that would perform the process in the videos but I'd be curious about the cost comparison to re-chroming.
heres the can comparisons and to have a shop spray it aint much at all
- - - Updated - -
Just trying to do my part in keeping you busy and filling that new shop
. I can still move around the shop without climbing over something so maybe I really could use more sleds. Starting to think I’m a hoarder thoughif your thinking its not strong enough I made jet engine covers of ABS plastic for the fighter jets on a carrier deck so the salty sea spray did not go inside the engines while they were sitting on the deck....I made hundreds of them and used MEK to glue the handles on em all...for the navy....its equivalent to new molded plastic.
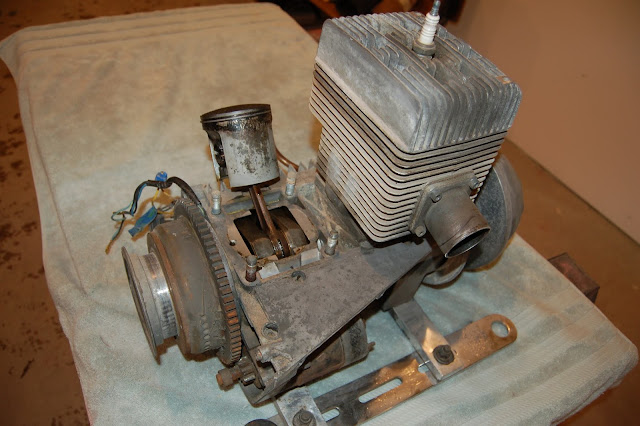
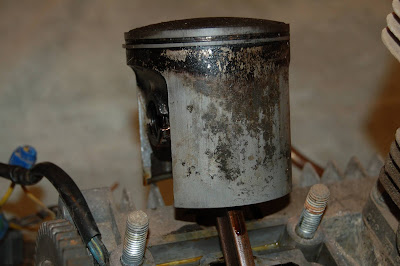
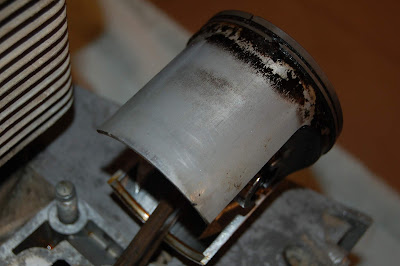
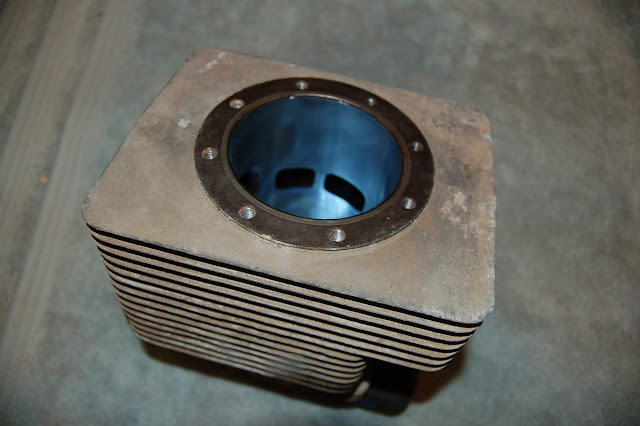
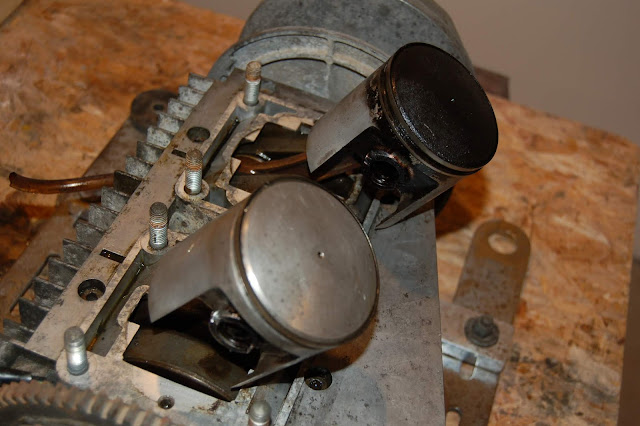
if there isnt enough wear or damage to justify boring I would just hone the cylinder using a ball hone NOT a stone hone to get a nice cross hatch pattern back into the cylinder.