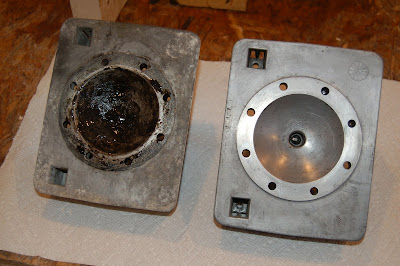
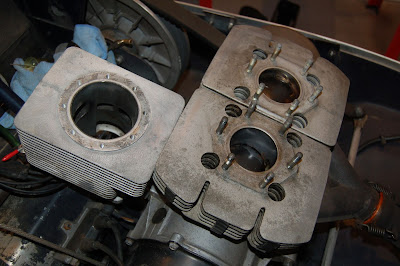
skiroule, sorry for delay responding, the grit I use at my shop is 240, and yes silicon carbide, you don't want to remove much material, just put cross hatch back in cylinder. I could not tell if cylinders were chrome or cast by pic and not familiar with that engine, Im sure you already know this as you had mentioned about scratch test, but other thing to look for is any plating missing around intake or transfer ports.
Thanks for the update euphoric1. All the info I can find says they are chrome and should be only minimally de-glazed. You make an important point about the radius on the ports being pristine. I've done a preliminary checkout of the ports and thought they looked good, no chips or flaking (fingers crossed). It will be a while before I get to the cylinders but I'll post the results when I do.
Glad to see your still tinkering with those fine machines.......I would recommend using some PB blaster on the rings and perhaps a piece from an old broken ring to clean out the grooves once you get the old rings out....
Kirk
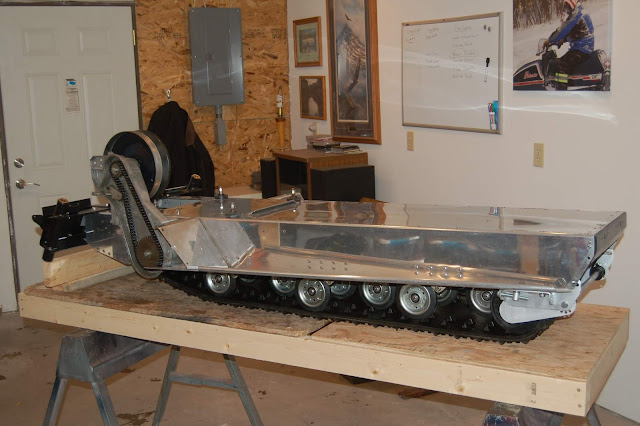
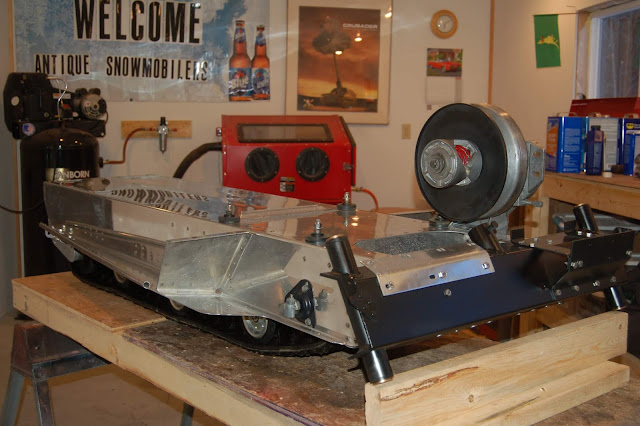
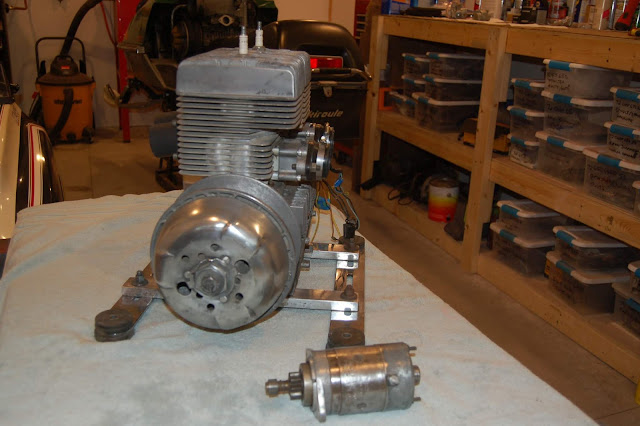
Hey Kirk, glad to see you're still checking out the site. Hopefully you haven't retired your TX fleet. Took the 340 out for a spin a couple of days ago and I really need to make a New Year's resolution to ride this sled more often. It's deceptively quick and an absolute blast to ride. It's not surprising that a lot of vintage oval racers run a 340. I've ordered carb kits and new jets for it because it's way overdue for a carb rebuild but that's all I think it needs this year.
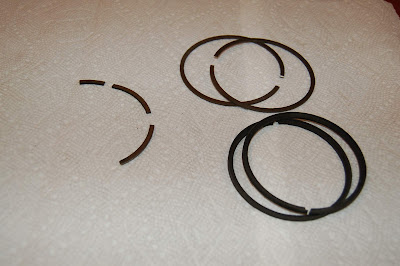
I did start cleaning one groove with the piece of broken ring I had and that led to quite a comedy of errors. As I was cleaning up the shop last night I couldn't find the chunk of ring anywhere. Peered down in the crankcase, yup, there it was. Have no idea how it got there. On this engine the tolerance between the crank counterweights and the case is so tight that the width of the ring (about 1 mm) locked up the crank at the bottom of the case. Eventually I thought I got lucky and pulled the chunk out with a grabber. Nope, still some missing - apparently I broke the ring chunk trying to rotate the crank to see down in the case. More magnets and tools and got a second chunk out. Still not all of it. More wire probe/magnet action and swearing, finally got all of it out - made sure by piecing it together with the rest of the ring off the piston, at least 99.9% sure.
Anyone who things this project is a well-oiled machine is mistaken.
Here's a shot of the offending ring section and the new guys that will replace what is there now.
")